Posted on Leave a comment

Because, every picture tells a story

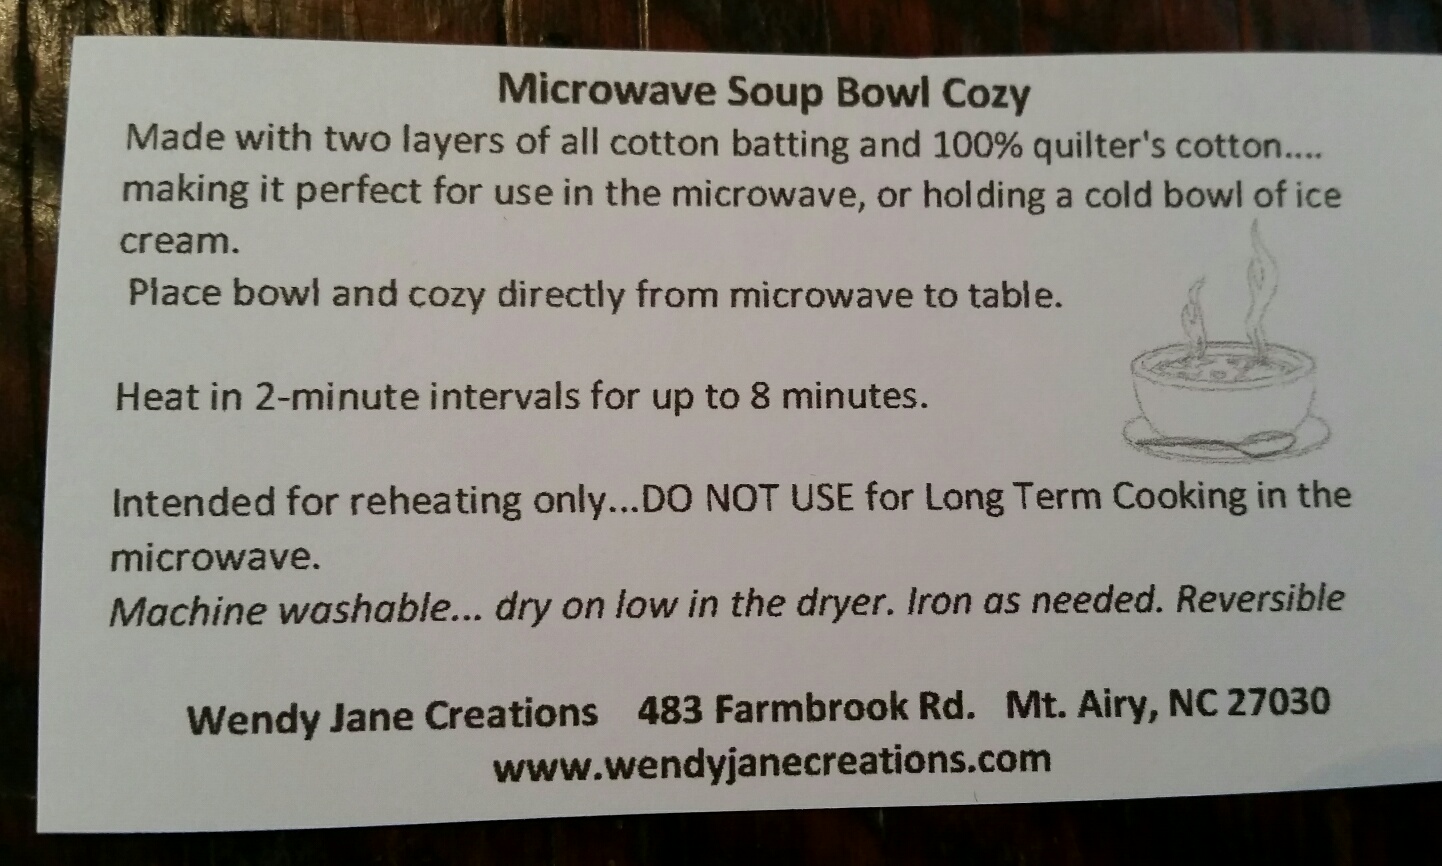
Every year these ornaments are hung on our family Christmas Tree, and every year decorating and un-decorating, takes me down memory lane.

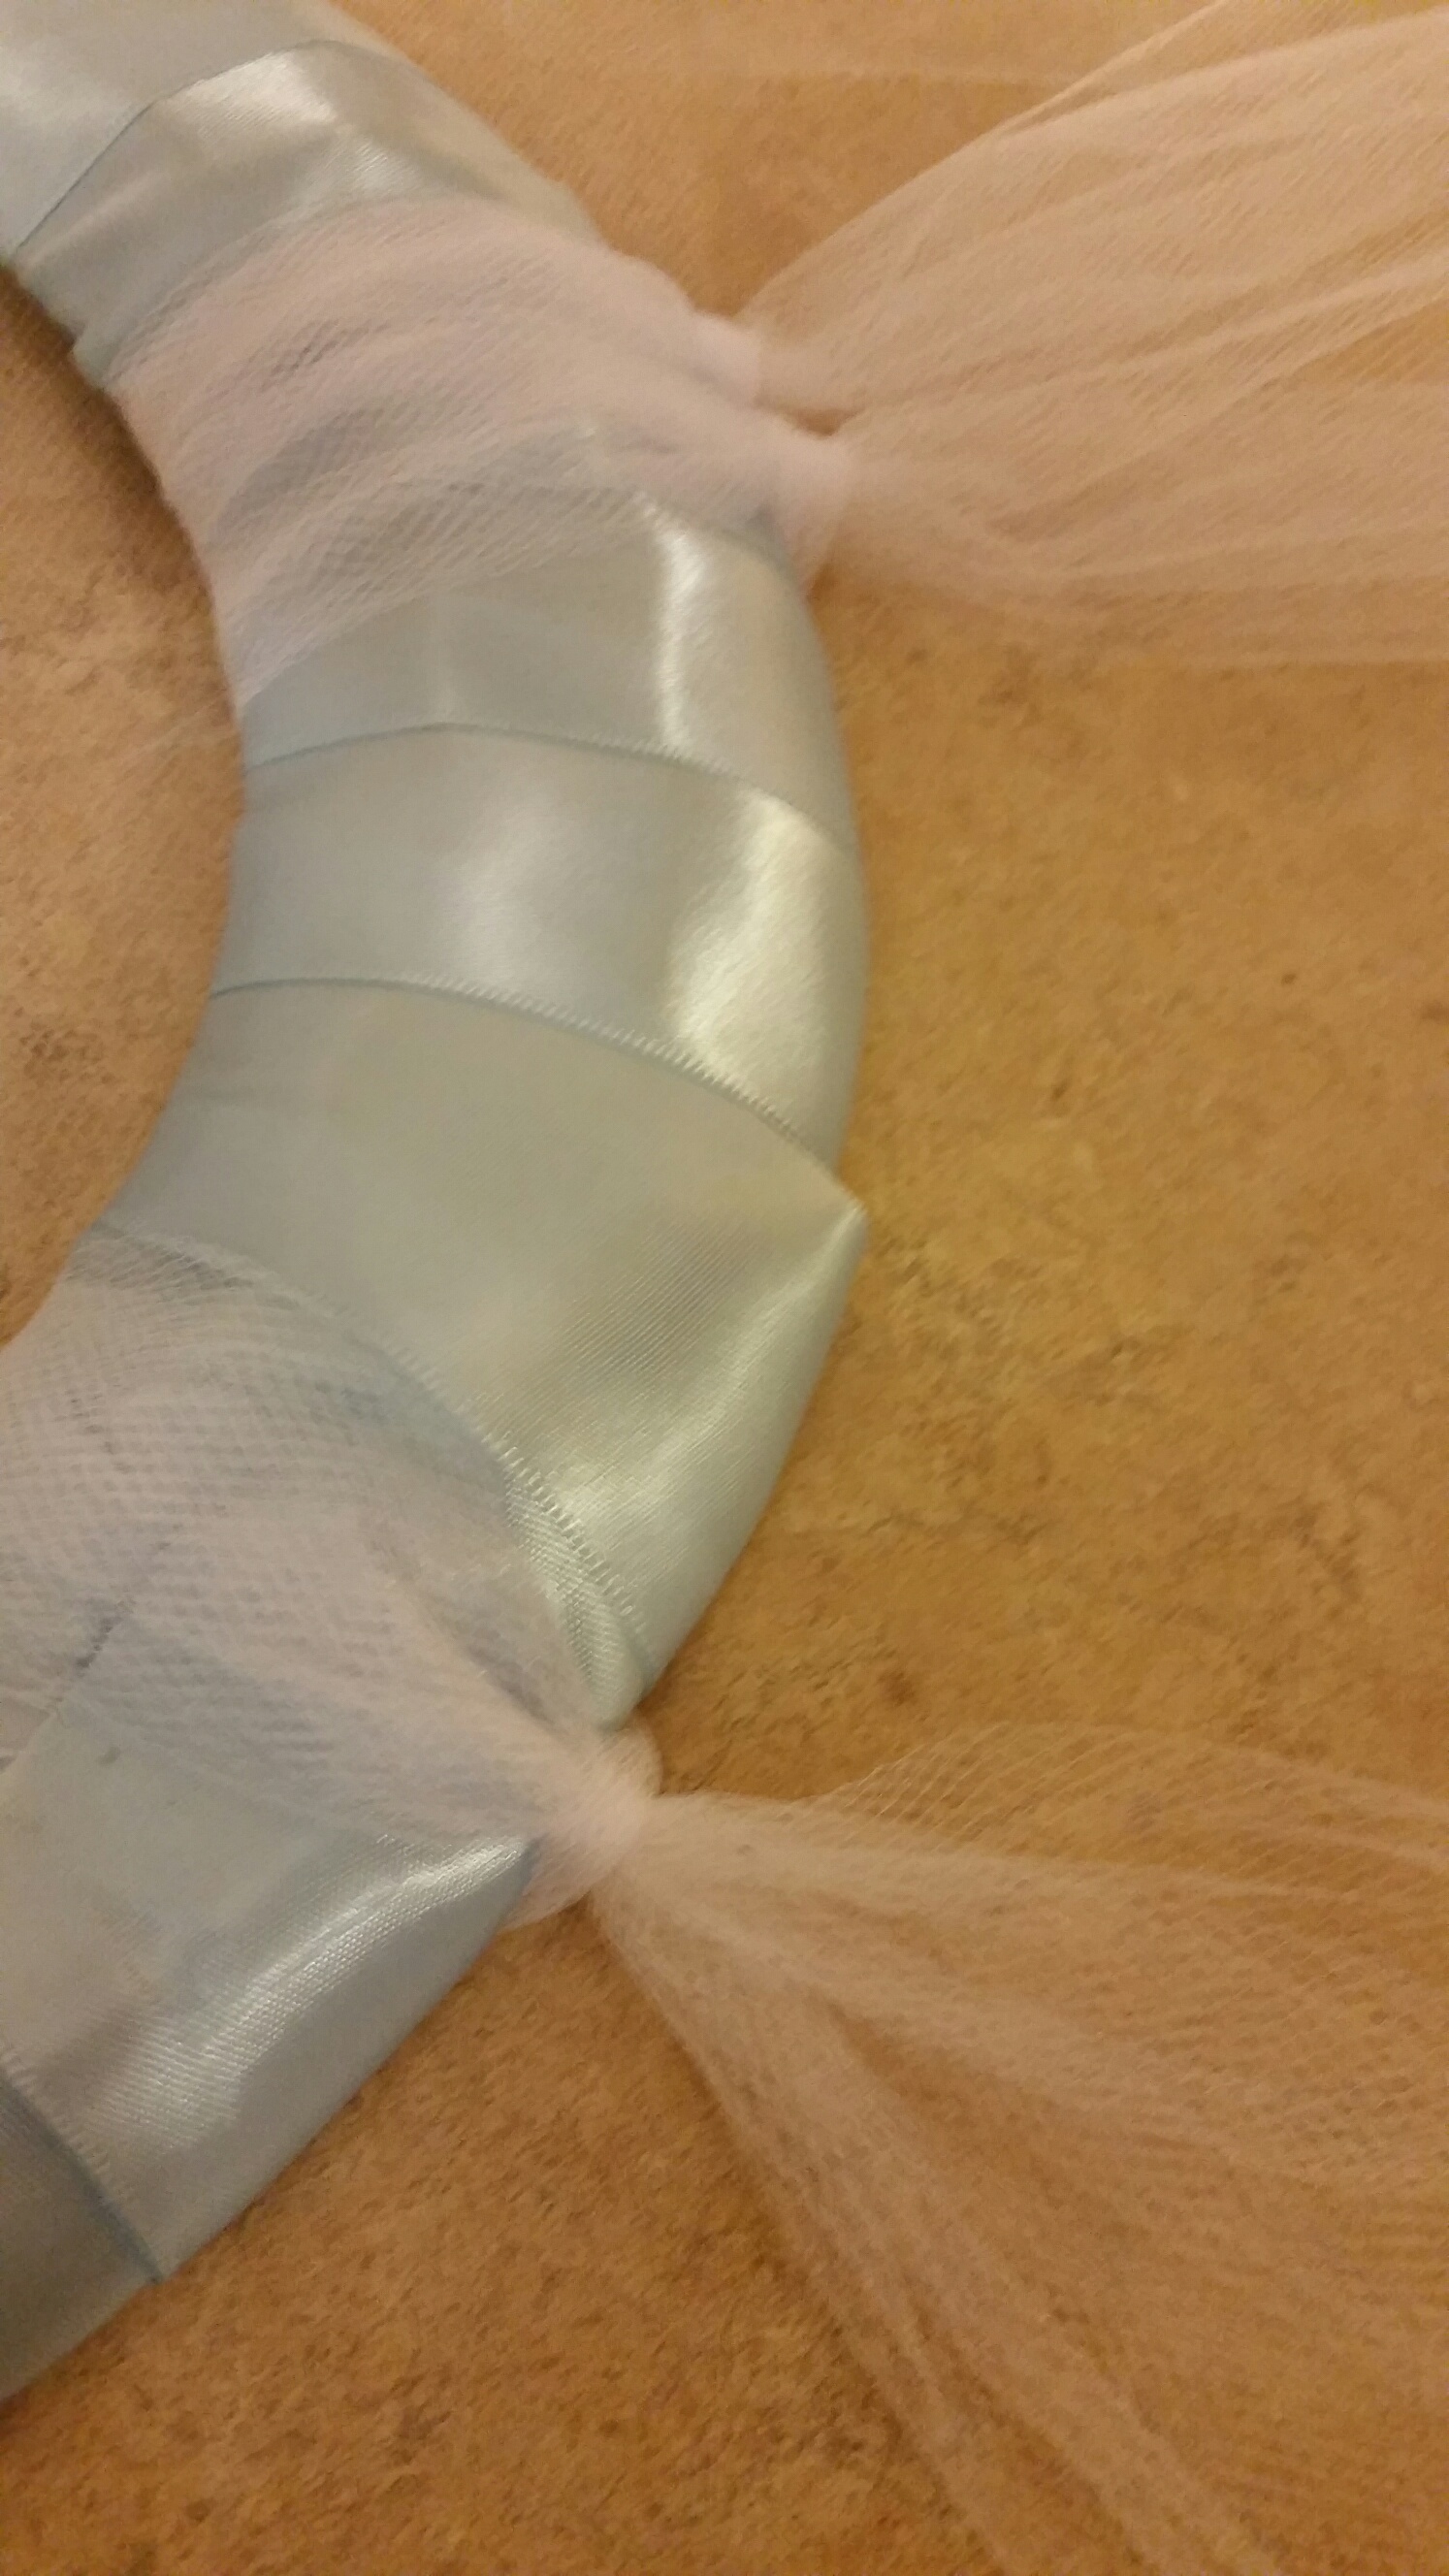
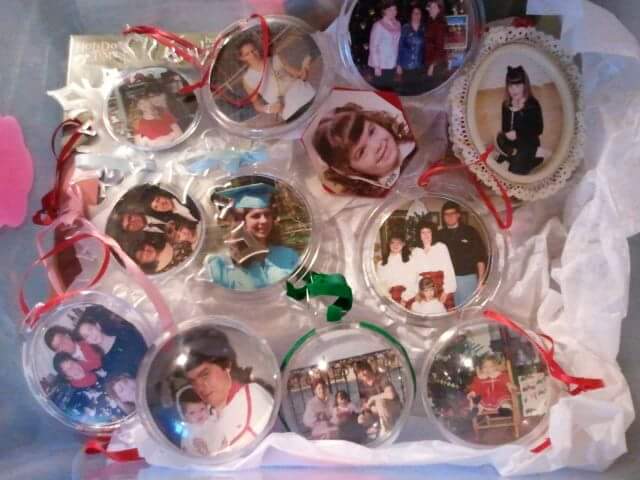
The ornaments began with the birth of our first child, and a way to showcase a new  Counted Cross Stitch product that we were selling in our retail store in the early 1980’s. It was a Lucite Ornament, that you could add cross titch to one side and a photograph to the other.

The photo of “Baby Melanie” with her father, and a piece of Counted Cross Stitch with “Thank Heaven for Little Girls 1980” on the back (pictured) started a tradition that I am so thankful for.

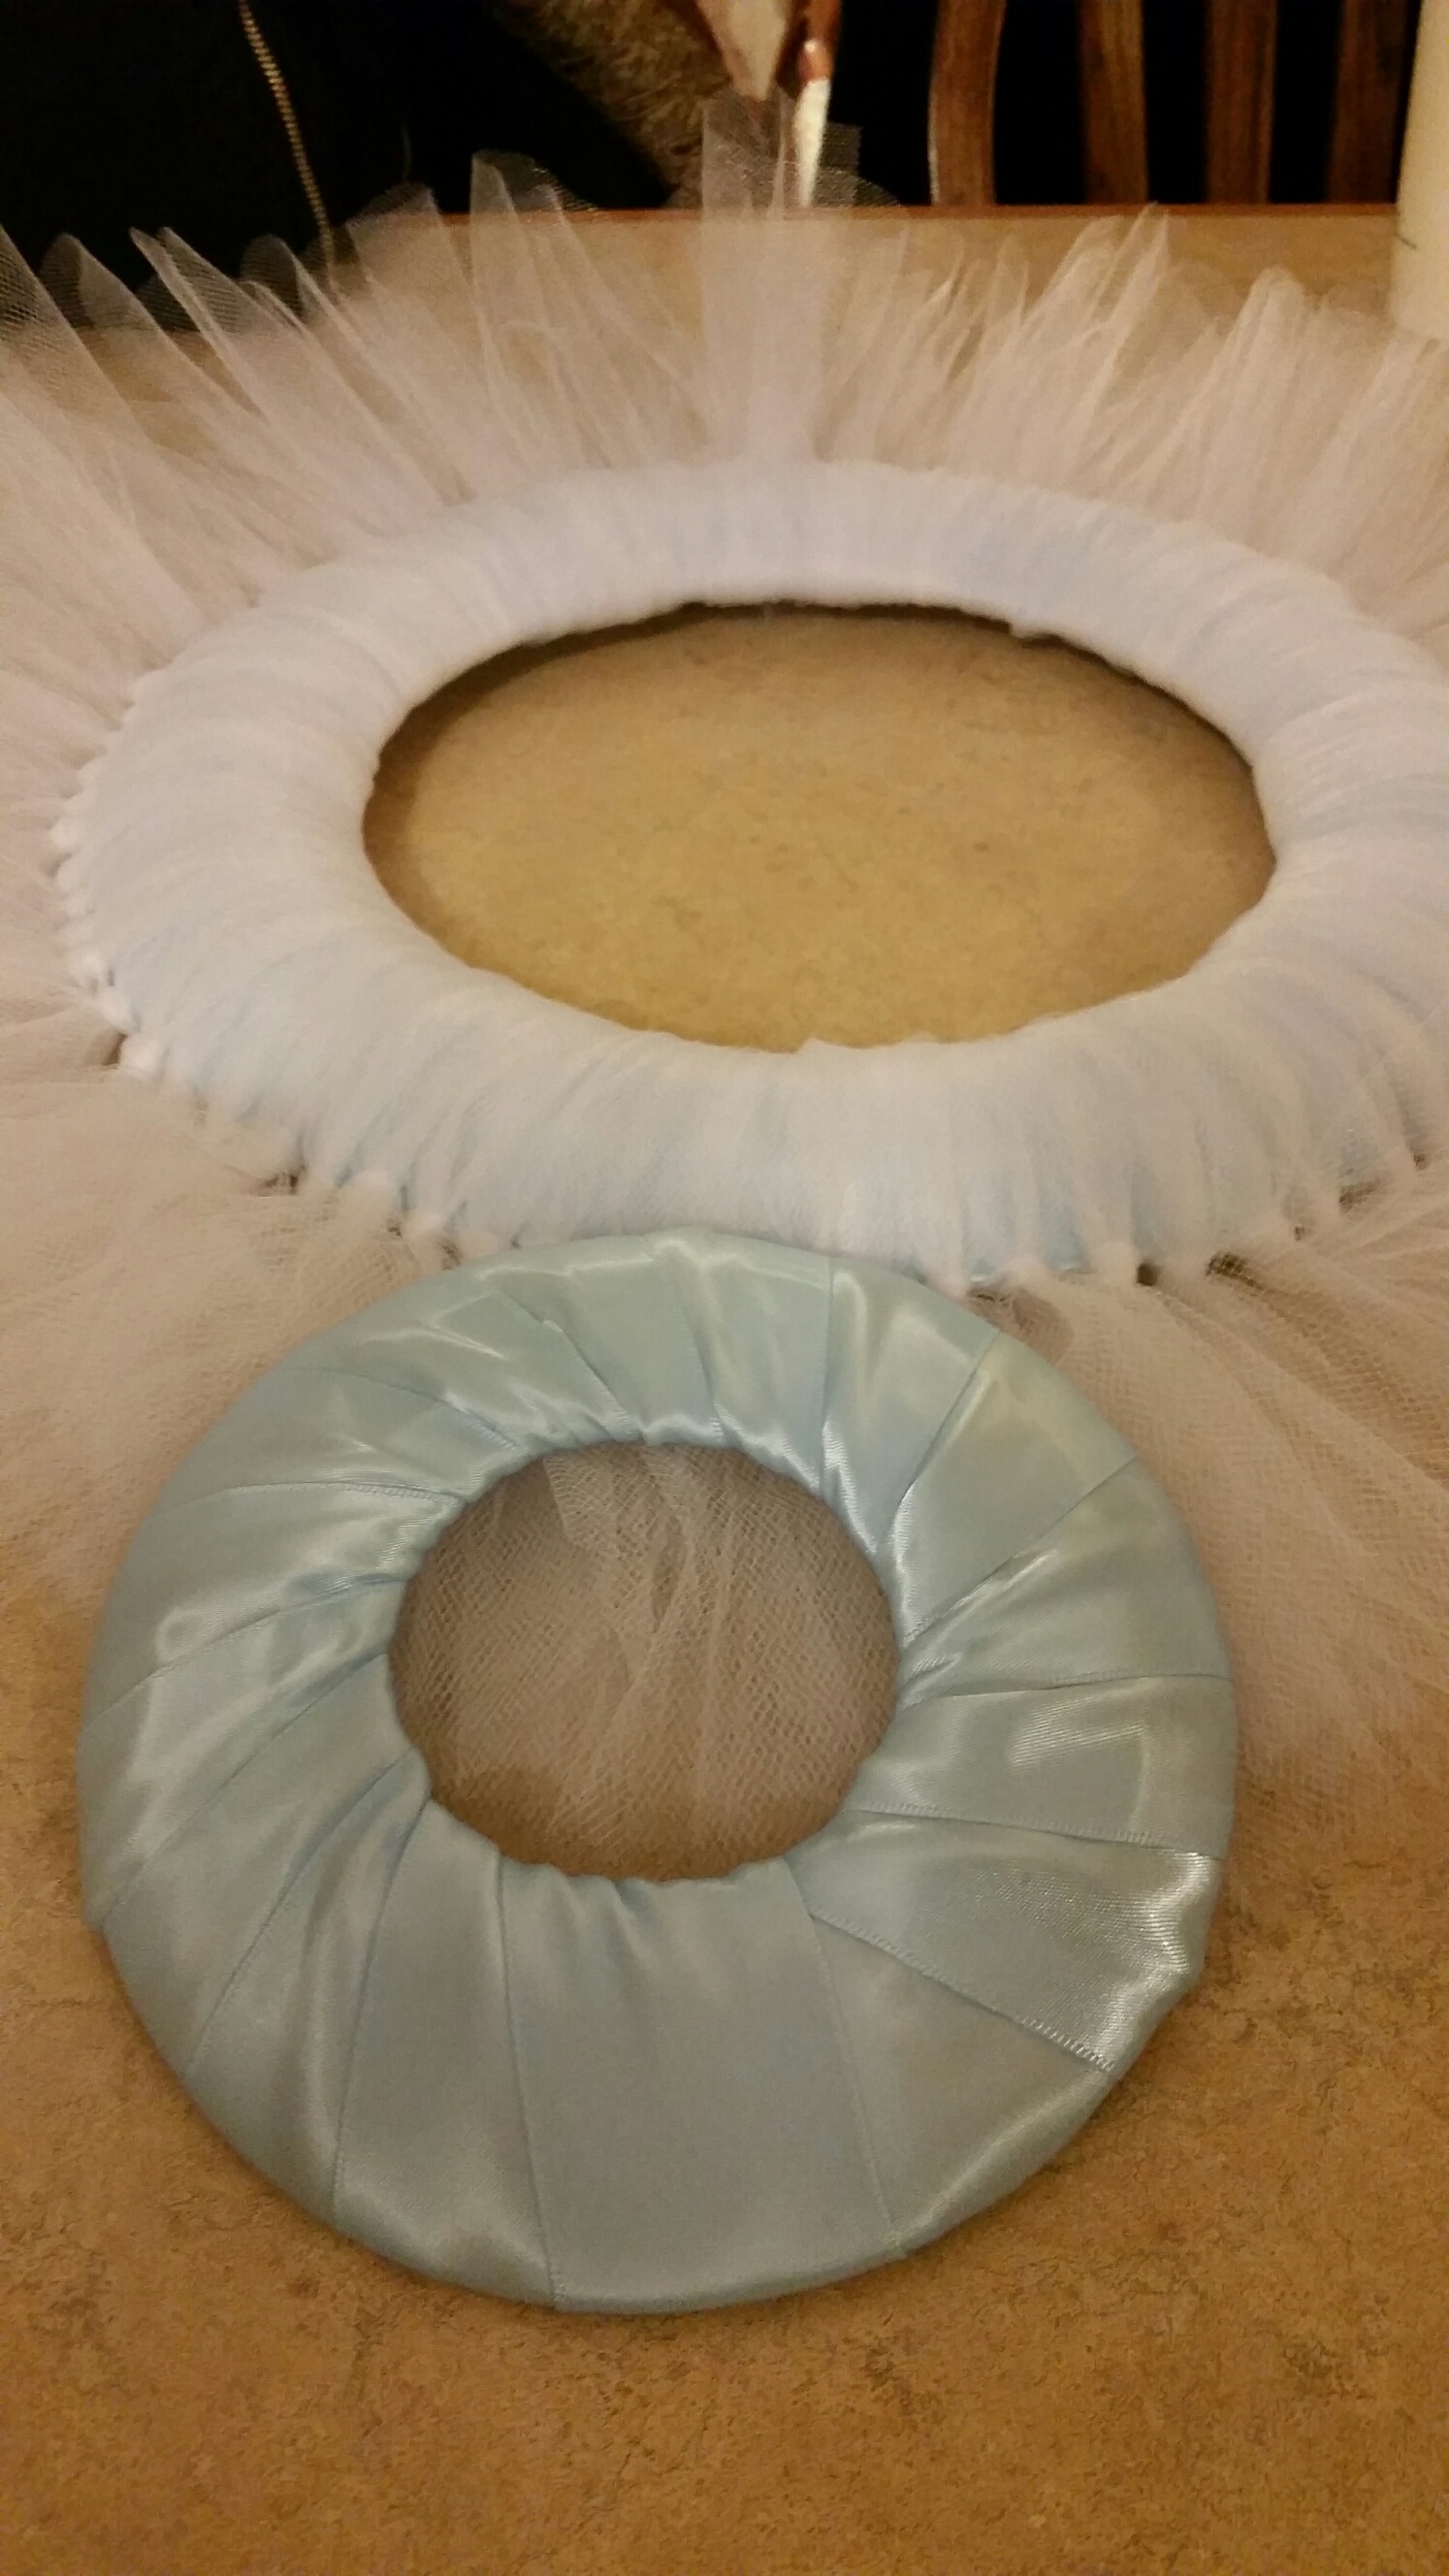
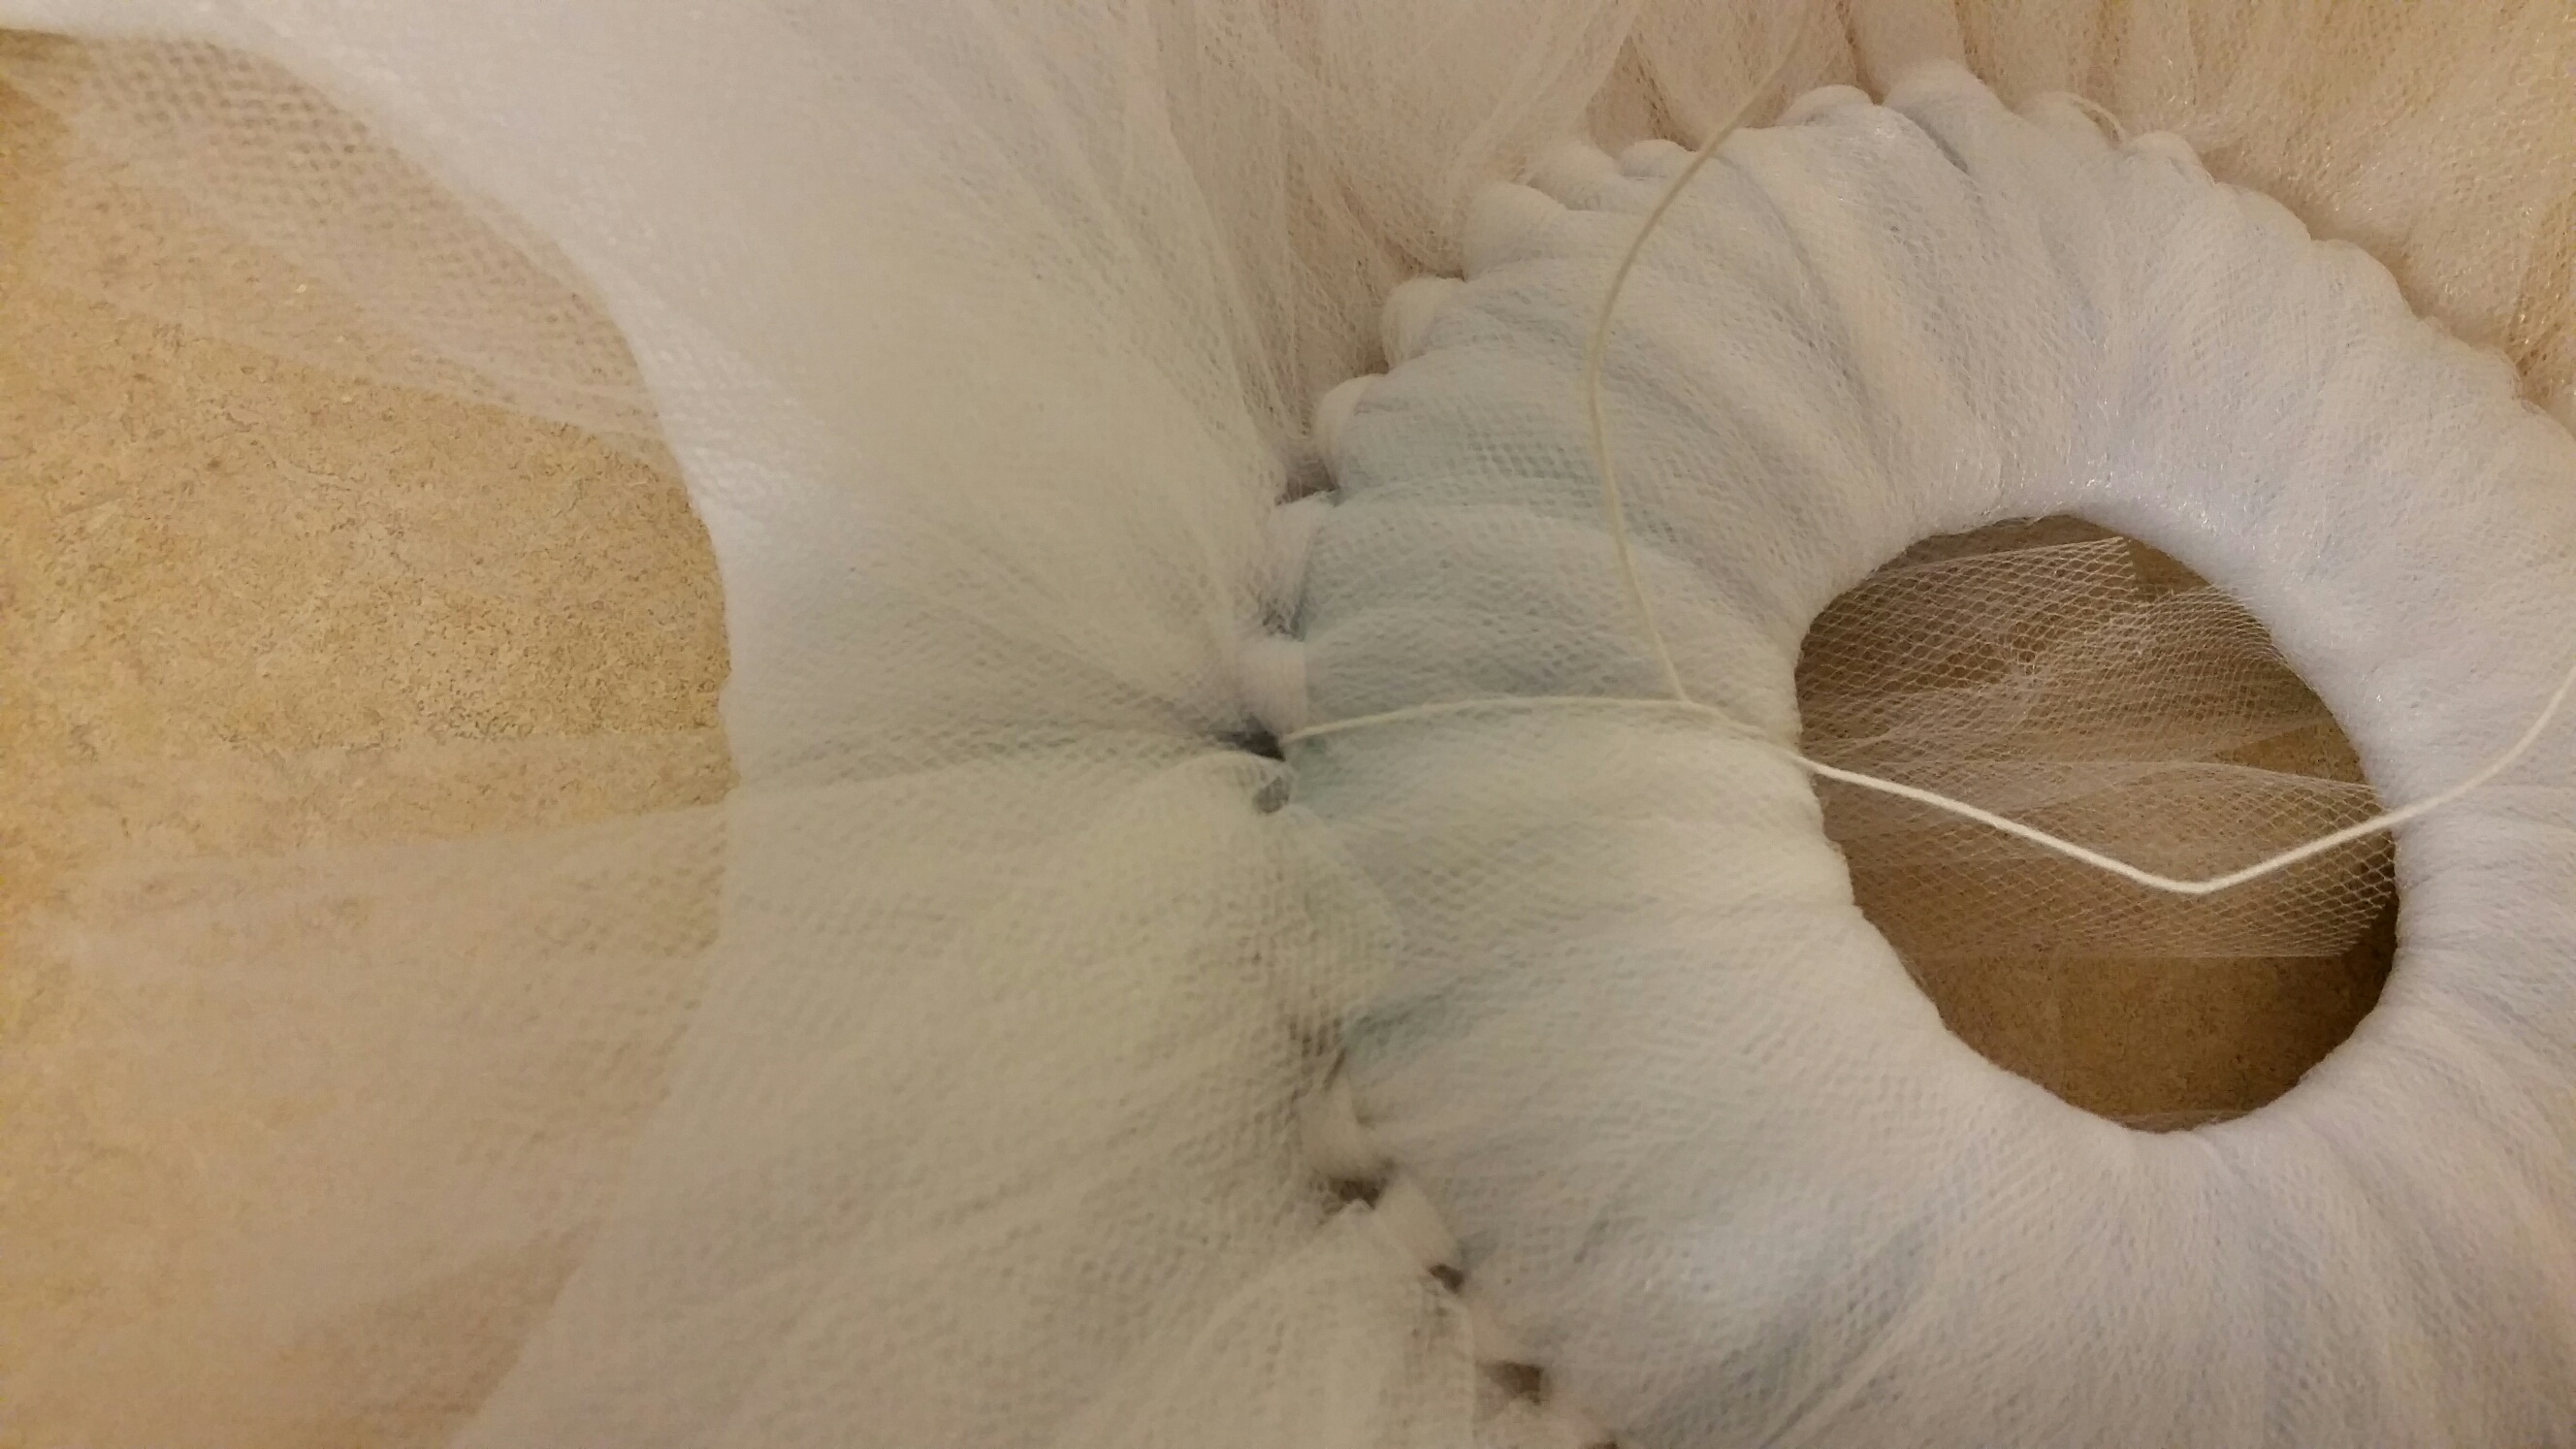
Each year adds special memories for each of our daughters and milestones for our family, including sweet 16 birthdays, graduating from High School and College, family vacations, candid shots and even the family pets.  Each ornament including cross stitch or embroidery with the year and important events on the other side. 
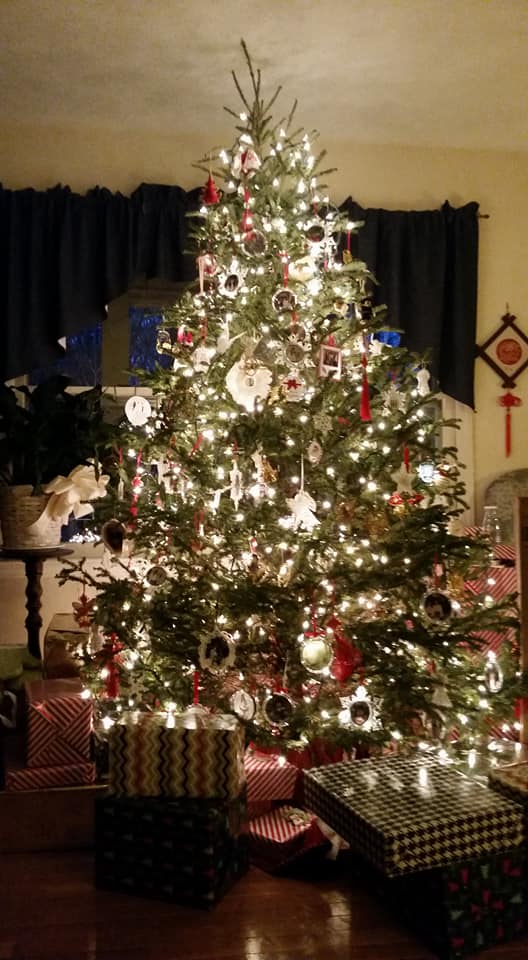
After 40 years of marriage, this year our tree was almost all pictures, and a few prized store bought ornaments. As the years have passed, sometimes finding the ball ornaments that started it all, or the Lucite disks, has been harder than others. With the added embroidery machines, we now have an assortment of ornaments, which are always made in triplicate, to share with our daughters. 
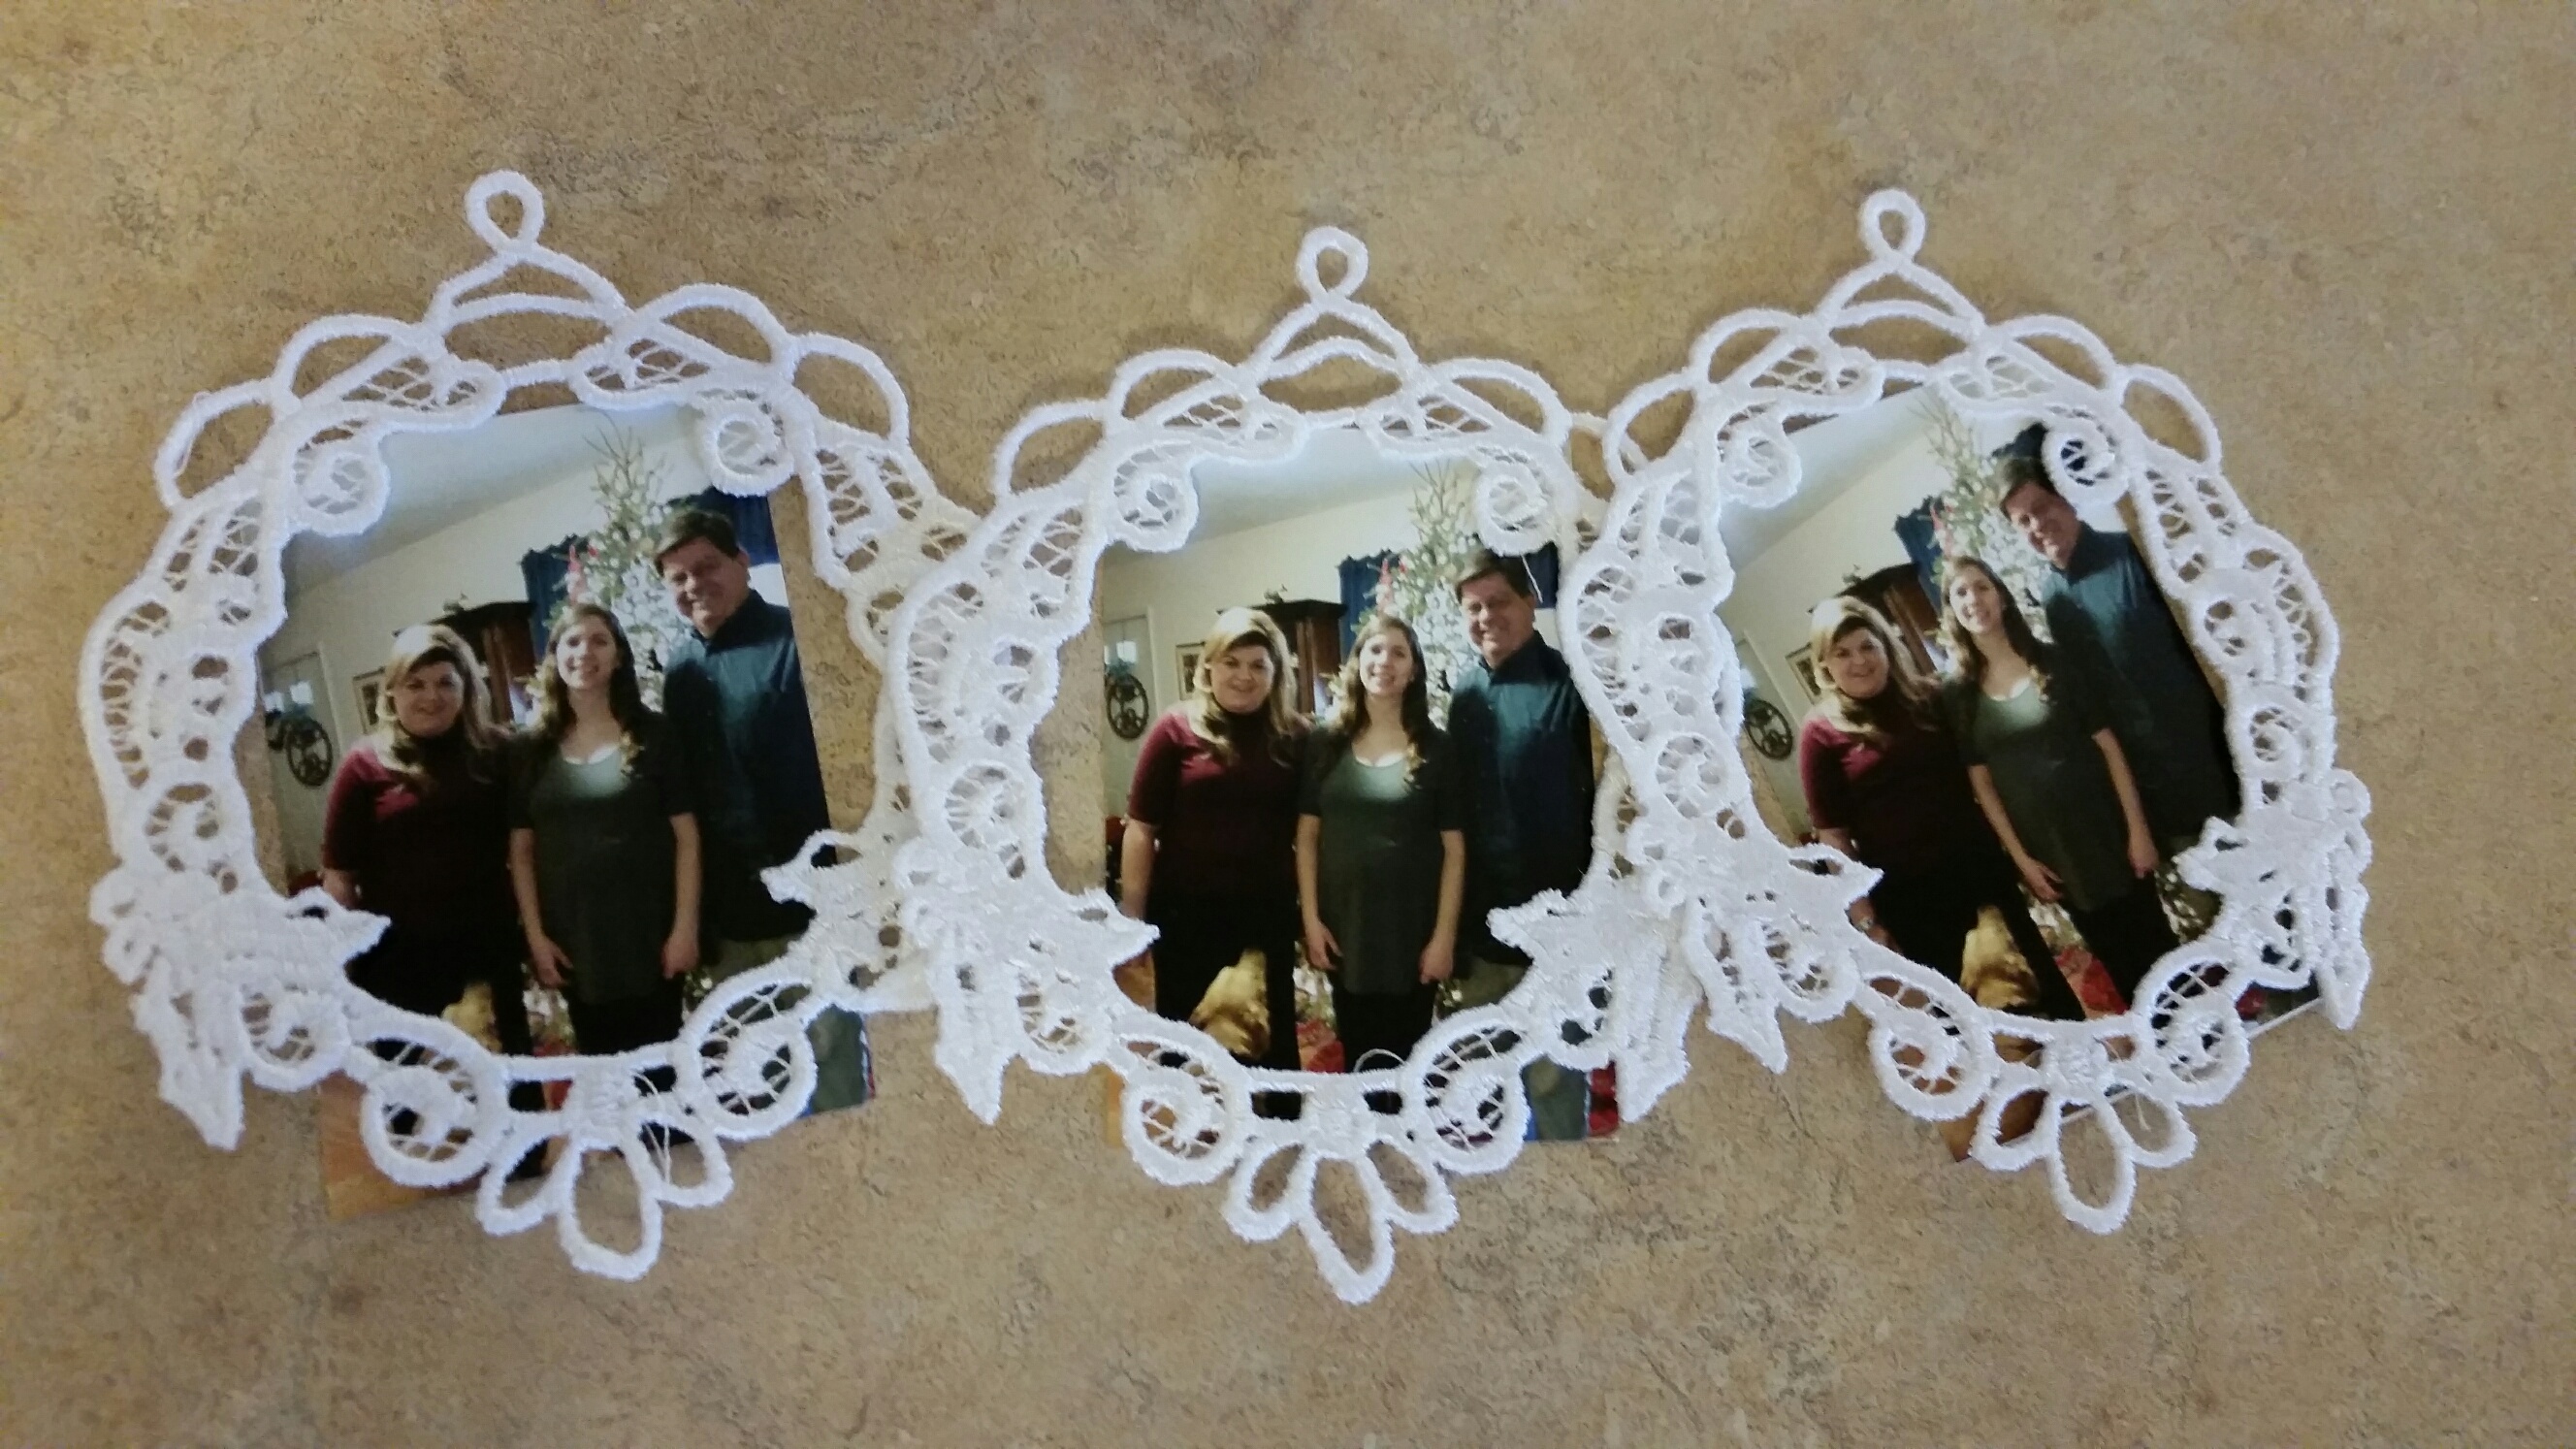
and friends….

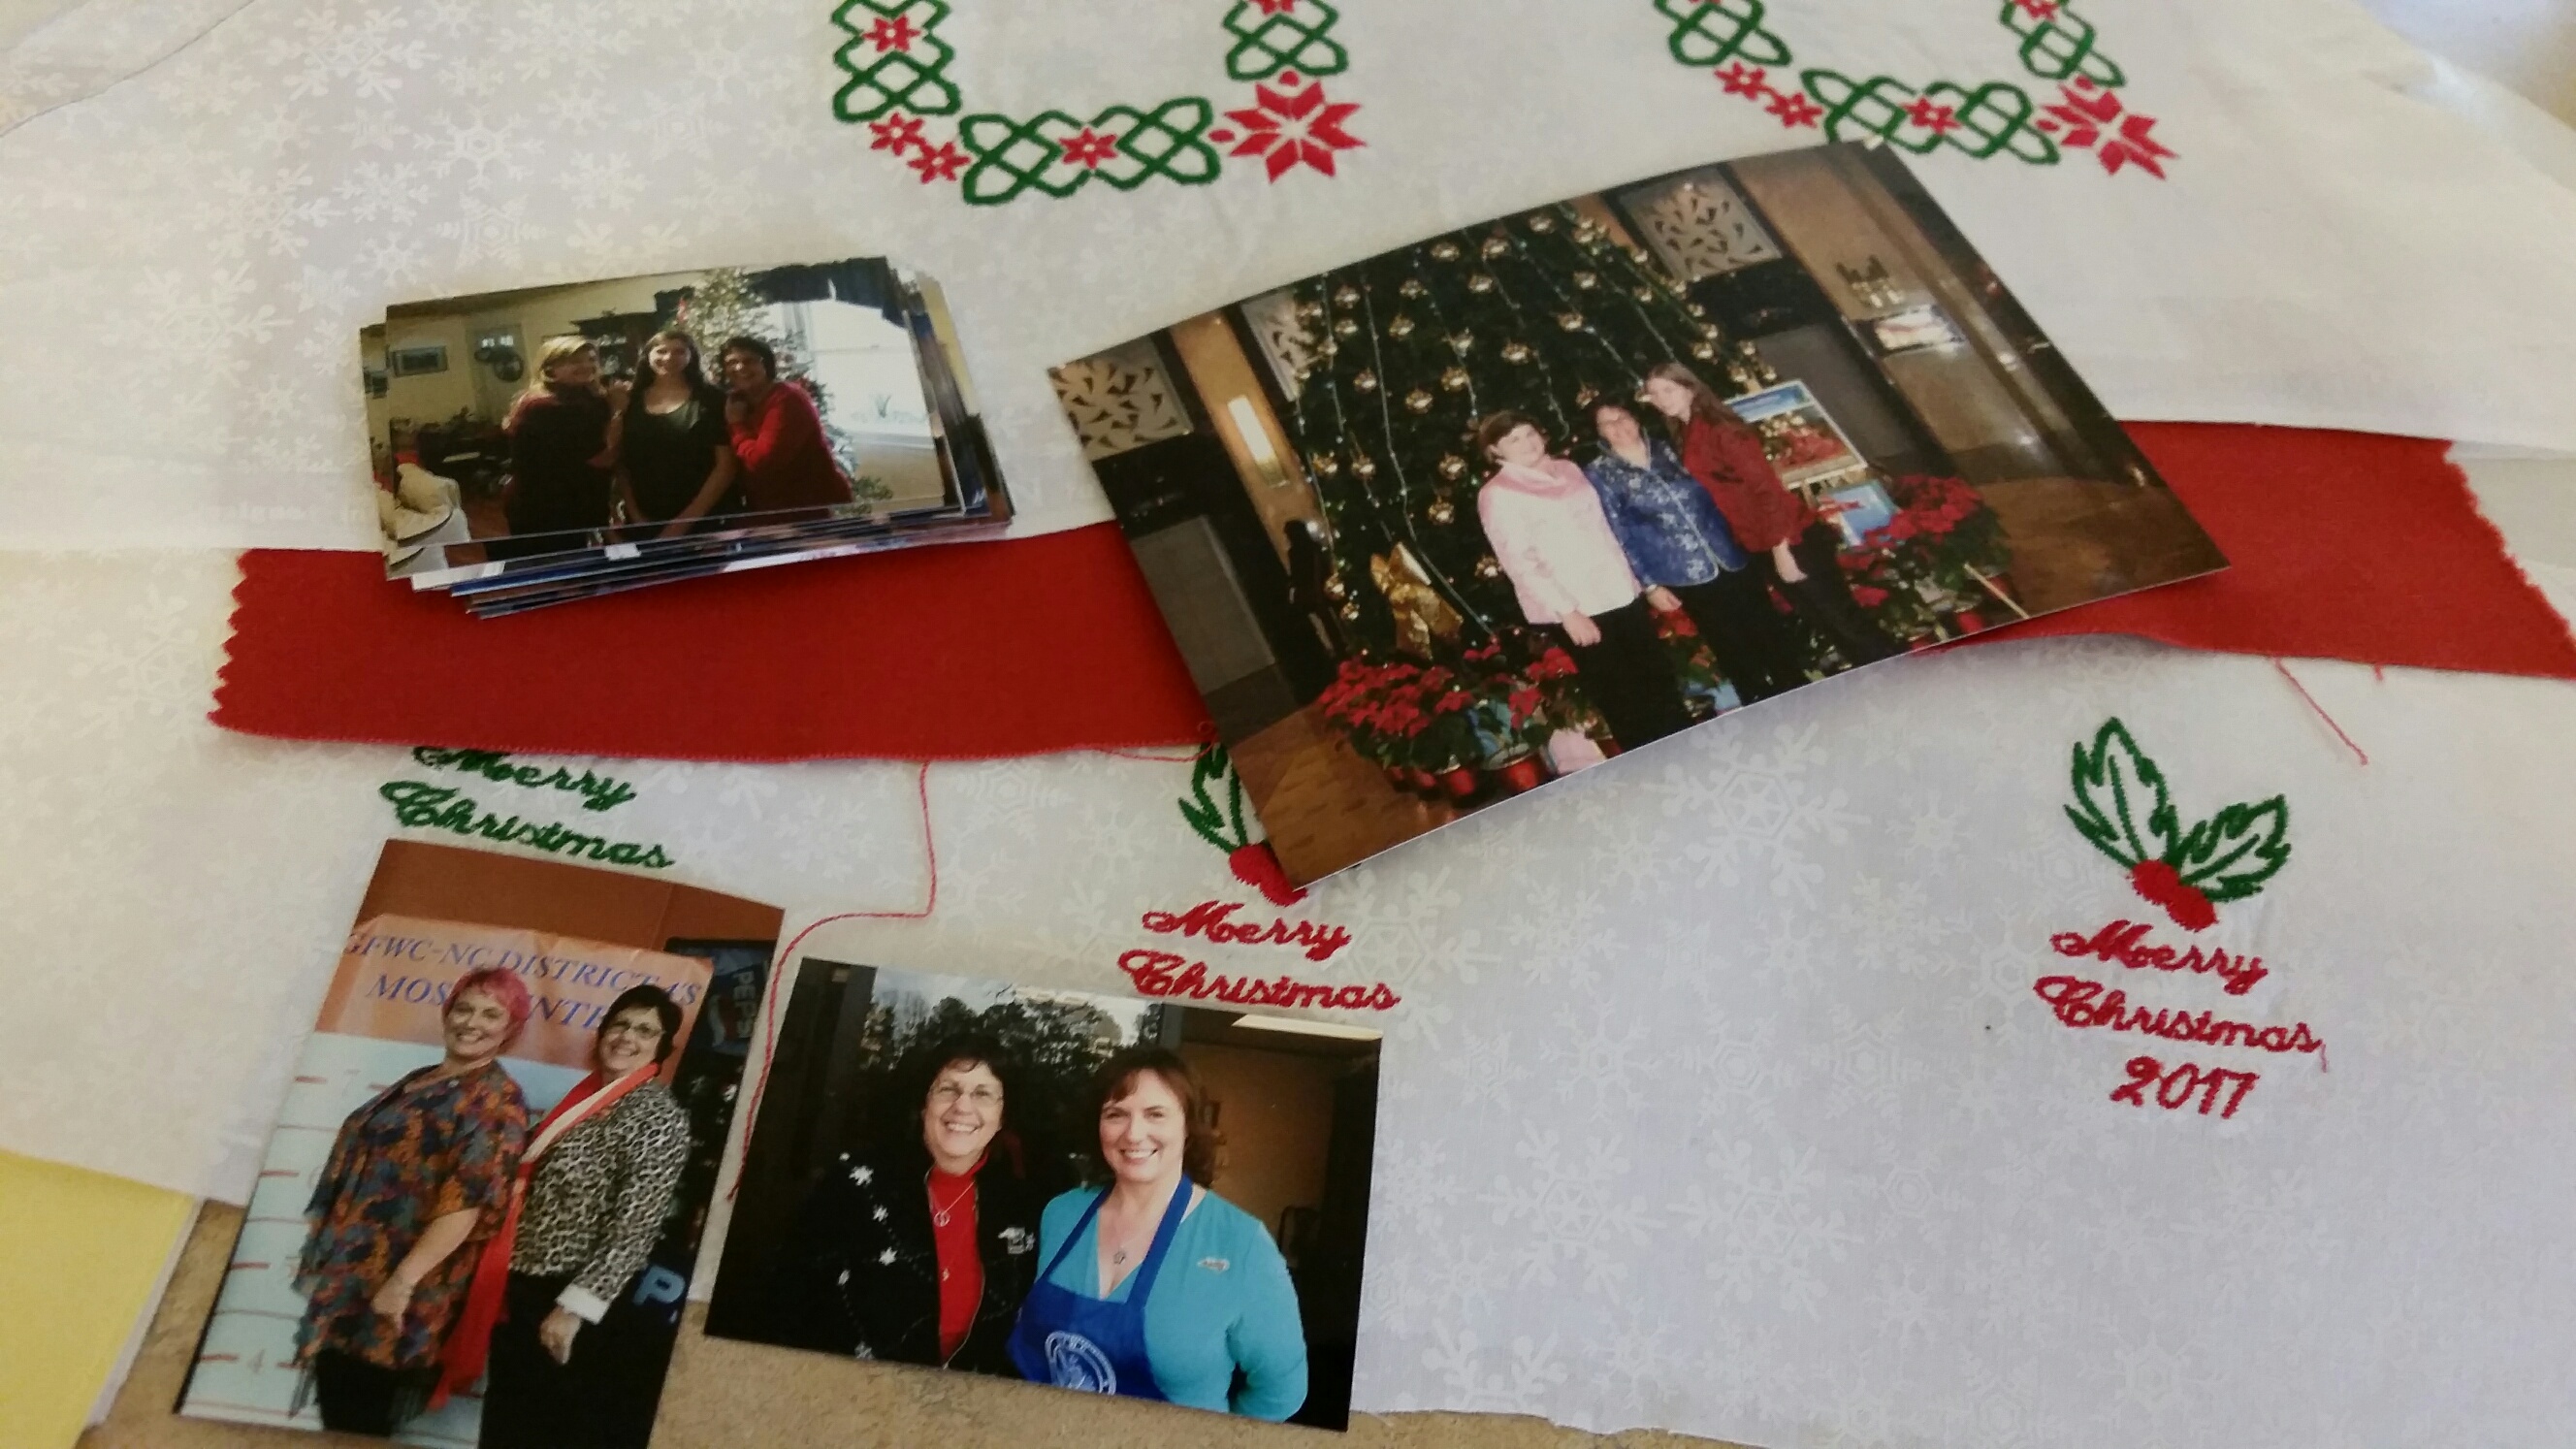
Because after all, a photograph is just a pause button on life.

Posted on Leave a comment

Soup Bowl Cozy’s

Microwave soup bowl cozy’s! Place your bowl of soup in these cozy’s and put them in the microwave. They protect your hands from getting burned. Assorted fabrics (Fabrics may vary), they are reversible and sold in sets of two.

Microwave soup bowl cozy’s! Place your bowl of soup in these cozy’s and put them in the microwave. They protect your hands from getting burned. Assorted fabrics, they are reversible – Basic Brown. Set of two $12.00
Microwave soup bowl cozy’s! Place your bowl of soup in these cozy’s and put them in the microwave. They protect your hands from getting burned. Assorted fabrics, reversible – Autumn Leaves, set of two – $12.00
Microwave soup bowl cozy’s! Place your bowl of soup in these cozy’s and put them in the microwave. They protect your hands from getting burned. Assorted fabrics, reversible, Red Bandana/Red Dots, set of two – $12.00
Microwave soup bowl cozy’s! Place your bowl of soup in these cozy’s and put them in the microwave. They protect your hands from getting burned. Assorted fabrics, reversible, Rust Bandana/Brown Print, set of two – $12.00
Microwave soup bowl cozy’s! Place your bowl of soup in these cozy’s and put them in the microwave. They protect your hands from getting burned. Assorted fabrics, Red Snowman/red dots, reversible set of two – $12.00
Microwave soup bowl cozy’s! Place your bowl of soup in these cozy’s and put them in the microwave. They protect your hands from getting burned. Assorted fabrics, reversible Holly/Holiday Dots, set of two – $12.00

Posted on Leave a comment

Cluster?

When your silverware drawer (or anything else) is just a muddled mess, you might call it a Cluster Fork?

Apron and Towel sets shown in Black with silver grey stitching ($20.00) and in White with black stitching ($20.00).

Enjoy!

When your silverware drawer (or anything else) is just a muddled mess, you might call it a Cluster Fork?
Apron and Towel sets shown in White with black stitching ($20.00).

Posted on Leave a comment

Oh H*LL NO!!

Oh Hell No 1Every now and then you find an embroidery design that just speaks to you.

Enough said! (Thank you Urban Threads Embroidery Designs)

Oh Hell No 3Dish towel pillows in assorted colors. $15.00 each plus shipping. Send a message at: wcarriker@gmail.com to place an order. There is no limit to the color combinations. Dish towels available in with   Red, Black, Blue, Green, Lavender, Brown, Red/Green Plaid trim, OR Off white with Blue, Black or Multicolored Stripes. Oh Hell No 2Because some days you just have to say “Oh Hell No!”

Posted on Leave a comment

Learning Opportunities are the Best!

This is what can happen when you are always distracted by something shiny and sparkly, and have trouble focusing at times. It’s also when happens when “someone” tries to organize your craft supplies and puts the wrong cap on the cans of spray paint (because you are still using the spray paint, and leaving the cap off saves time, right that’s it), its about saving time.

20170318_140413_1489872875222_resizedI have been collecting and painting pine-cones for several weeks, and this was the day to finally put them together in a wreath.

20170318_140423_1489872873329_resizedI covered a wire wreath form with burlap ribbon, so the pine-cones could be glued on, knowing the wire form would give the wreath the stability needed. After all of the pine-cones were hot glued in place. I took the wreath outside to give it a coat of clear spray paint to add a shine and help preserve the project. I also had a burlap bow ready to place in the center. And that’s when it happened…..20170318_173329_1489872869366_resized

The “CLEAR” spray paint can with a CLEAR lid, was actually BLACK paint. Luckily I started on on side, so only a few pine-cones got a spurt of black. Yes I know I could pull the miss-pained cones off and replace them, or repaint them, but decided it was okay in the end, and it does make me laugh when I see it hanging on the door.

20170318_173322_1489872871558_resizedThis is not a mistake, it’s a learning opportunity! I will ALWAYS check paint before spraying a project in the future.


Posted on 2 Comments

Re-purposing Nature

Pine cones 10After seeing friends paint pine cones to look like Zinnia’s I was inspired and intrigued. A box full of old wooden picture frames seemed to be calling for a craft project as well.

Pine cones 1We picked up pine cones, large and small and baked them in the oven at 250 for about an hour (to kill and bugs or critters, and to help the pine cones open up).

Pine cones 2The pine cones were then cut (since we only used the bottoms)

Pine cones 4We thought we could use the tops as well, but when they were pained, they became very distorted. So only the bottoms were used.

Pine cones 5We used acrylic paint (rather than spray paint) dipping the pine cones into the paint and letting them drain and dry.

Pine cones 6We used red, yellow, pink and orange colored paint.

Pine cones 8Then we took an old wooden 8″x10″ frame and wrapped it with burlap ribbon.

Pine cones 9


A strip of ribbon was added so that the “flowers” could be glued across the corner of the frame.

Pine cones 10A fabric bow was attached and a saw tooth hanger (on the back) We also added a few silk leaves (from another project back in the fall) and there it is! Nature at it’s best!


Posted on Leave a comment

A few crates, some carpet, rope & nails = Crazy Cat Crate

Using a few crates, carpet samples, rope and some nails, these items were all re-purposed into a crazy Cat Crate in a few hours. 20170204_175213_1486257646387_resized


We were going to recycle the blue tube as the scratching pole, but it wasn’t tall enough. We substituted the tube with tomato stakes. 20170204_115146_1486258151618_resizedFirst we stained the crates with a pet friendly stain, and covered the flat board with a carpet sample (using a staple gun).

20170204_125918_1486258080519_resized

20170204_163020_1486258077096_resized

20170204_164254_1486258074722_resizedThen it was time to assemble. Nailing one crate to the carpeted piece, and the top crate in place.

20170204_172234_1486258030367_resizedWe cut tomato stakes to fit as the scratching posts and covered them with rope, using a hot glue gun to hold the rope in place.

20170204_170406_1486258035610_resized

20170204_170707_1486258034010_resizedThe scratching posts were nailed in place, and another carpet scrap was placed in the bottom….hopefully the cats will like it!

20170204_175124_1486257648883_resized20170204_175213_1486257646387_resized


Posted on Leave a comment

Do You Want To Build a Snowman?

20170106_153445_resizedSorry, but I just had to do it, as it is actually snowing in North Carolina as this post is being written. So with that in mind, I thought the door needed a snowman wreath. I started with 2 metal wreat forms, a 6″ and a 12″, and two spools of tulle. 20170105_183444_1483734987844_resized

I wrapped the wreaths with baby blue ribbon, but white would have worked just as well. Then cut 60-18″ pieces of tulle for the large wreath, and about 40- 16″ pieces of tulle for the smaller wreath.

20170105_185519-1_1483734990192_resized

Using a half lark knot, I then started attaching the tulle to the two wreaths.

20170105_191557_1483734992169_resized

After finishing the larger wreath, then I started on the smaller wreath.

20170105_195552_1483735030497_resized

After both wreaths were finished, then I used a piece of white coverd wire to atttach the two wreaths together.

20170105_201551_1483735033054_resized

And with that I had a Snowman! I first tried adding a ribbon bow tie and a “hair” bow, but wasn’t that thrilled with the outcome. So then I found one of my daughters hat and scarf sets from MANY years ago, and pinned them on instead.20170105_202156_1483735035198_resized

A little wire to attach it to the door, and there it is, a Snowman!

20170106_153445_resized